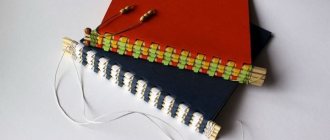
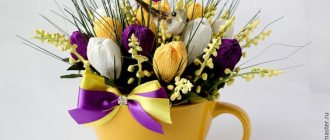
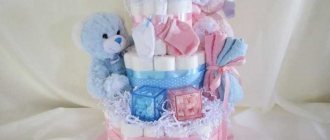
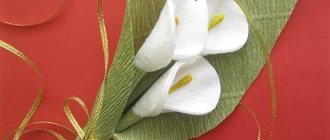
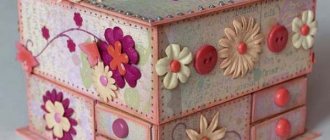
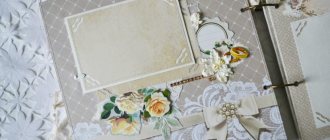
Scrapbooking is a type of handicraft in which, using special materials and tools, you can create an album with photographs, a postcard, a mini-album or a travel book. Like all types of needlework, it has its own history and you can read about it in detail here.
Initially, scrapbooking meant only the design of family and personal photo albums, chronicles, where newspaper clippings, tickets, postcards were glued, and with the advent of photographs, they began to glue them too. But time passes, and modern scrapbooking has expanded its horizons and combined several types of needlework in one. Today, many also classify as “scrap” cardmaking (design of postcards) and alter-scrap (design of bottles, photo frames, houses, alarm clocks, panels, etc.). Scrapbooking is often combined with the cartoning technique (creating boxes from beer and travel cardboard) and bookbinding (creating photo books, notebooks and photo albums with Coptic binding).
What kind of work should you start learning scrapbooking from?
First of all, choose a job that you can complete in 1-3 days. I recommend starting with cards, gift boxes, refrigerator magnets, photo frames or money envelopes. A little later, you can try to make a mini-album, a notebook on a spring or on rings, a recipe book or a passport cover. Larger projects, for example, a baby’s first album or a wedding photo album, should be taken on with minimal experience. By this point, you will more or less have an idea of what scrapbooking is, you will have materials and minimal tools, and like-minded people will appear.
Creating a cover
This master class will help you make a cover for a ready-made notebook or diary. To create it you will need:
- the notepad itself;
- textile;
- ribbon;
- stationery;
- decorative elements;
- sewing machine.
First, you need to take measurements from the notebook. The cover will be solid, so you need to measure the diary in an open form, not forgetting about the spine. Add 1-2 cm seam allowance to all measurements.
Then you need to cut out the fabric for the outer part of the cover according to your measurements. You will also need two strips of fabric for the pockets into which the endpapers will be tucked. They should be equal in height to the height of the page, and the width can be made to any size, the main thing is that the cover looks good and holds the endpaper if it is not glued. On wide products you can attach additional pockets for notes.
All that remains is to stitch and iron the fabric. You need to mark out places for decoration, some of them can be sewn on right away. Then you should fold the base and pockets with their front sides facing each other, put the ribbon in the middle so that it is sewn, but its edge does not extend beyond the seam. Sew everything, then turn the cover inside out and sew on the remaining decor. After the decor is finished, you just need to put the cover on the notebook.
Preparing to work in scrapbooking
Before you start creating scrap work, you must:
- Think about what kind of work you want to create - a postcard, a box, an envelope, a mini, etc.
- Choose 1-3 master classes you like online. I advise you to pay attention to lightweight and affordable materials. Perhaps based on two or three of them you will get your own work, for example, in one you took a composition, in another a postcard template, and in the third you liked the materials. Look through similar works on the Internet, maybe they will inspire you to create something of your own. Study the composition in the works you like. Be sure to record the entire plan on paper.
- Prepare a list of materials and tools. You will have some of the tools at home, for example, you will always have scissors, a pencil and a ruler. It is advisable to go to a handicraft store with a list. Without a list, you often end up buying much more than planned. Arriving at the store, we go straight to the paper department. There we choose a paper design, select the base for a box, postcard or mini-album - this is watercolor cardboard, cardstock or designer cardboard. We go to the jewelry department and here, based on the master class and paper, we select decorations - flowers, chipboard, lace, die-cuts, stickers, etc. If you buy on the Internet, then it is advisable to buy with a fresh mind and the next day, this way you will avoid unnecessary shopping. Based on the list of materials for the master class, put everything in the basket, and in the morning review everything again and click the buy button
